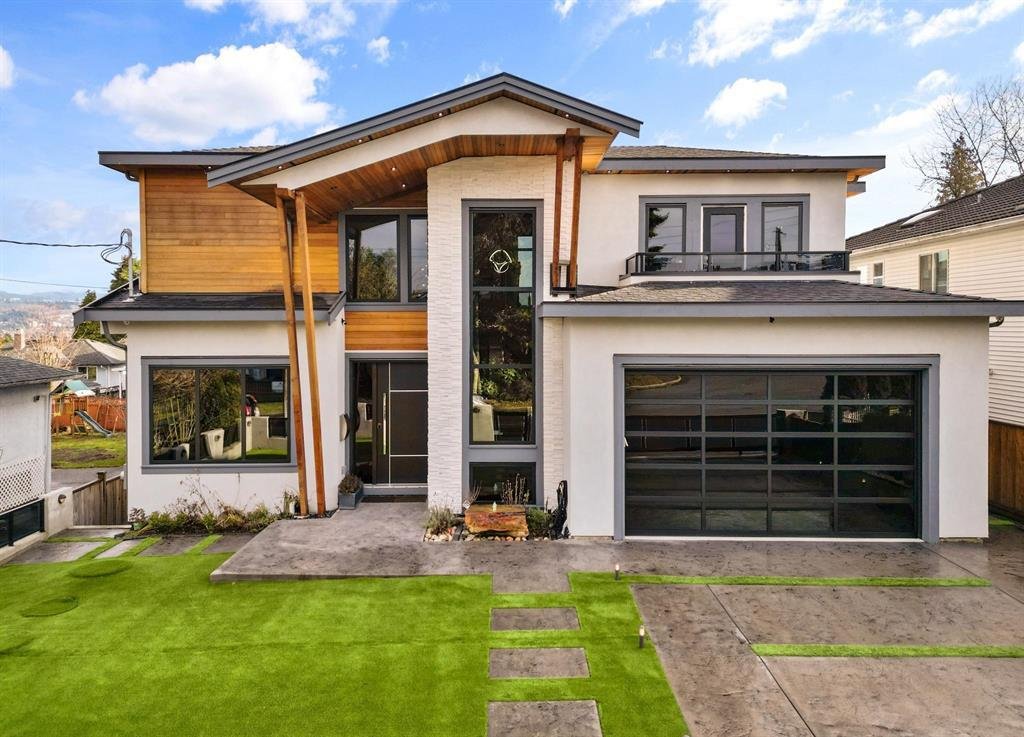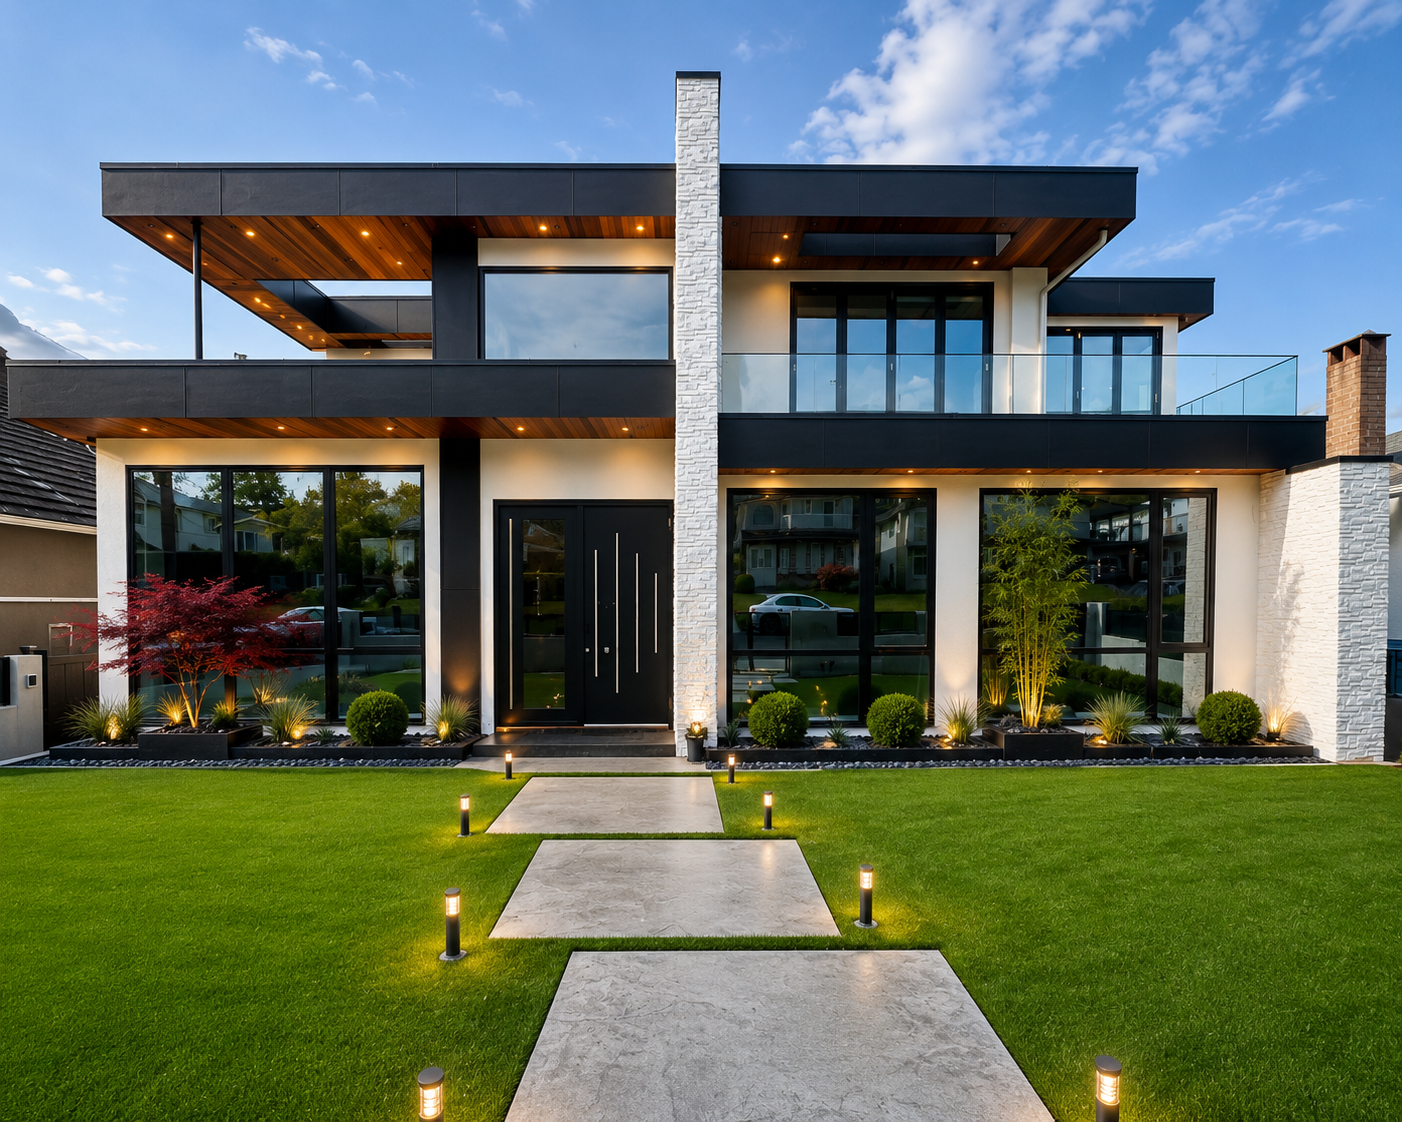
Drywall is the stage where a new house suddenly looks like a home. For months you see framing, pipes and wires. Then, within a few weeks, the rooms take shape and you can picture where the furniture goes.
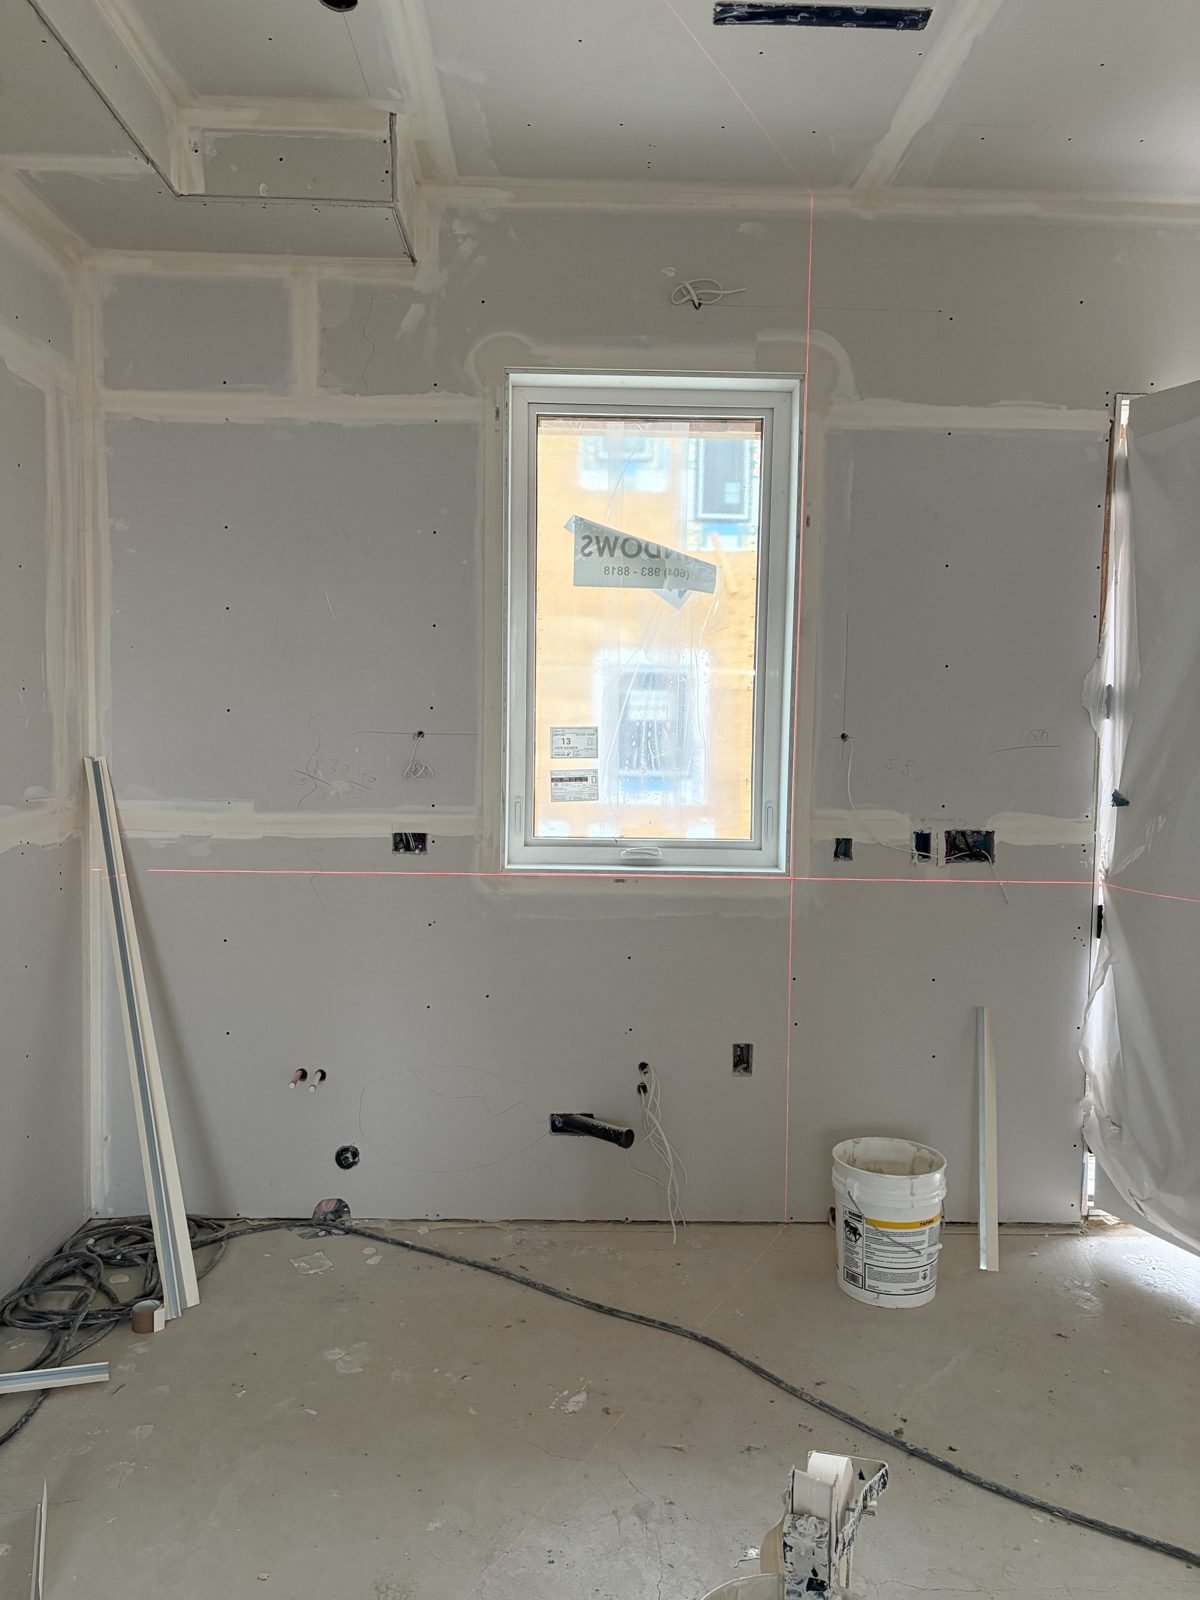
These photos are from our current builds at 909 E 64th Ave and 7920 Windsor St in Vancouver, all now at the drywall stage.
1. Hanging the boards
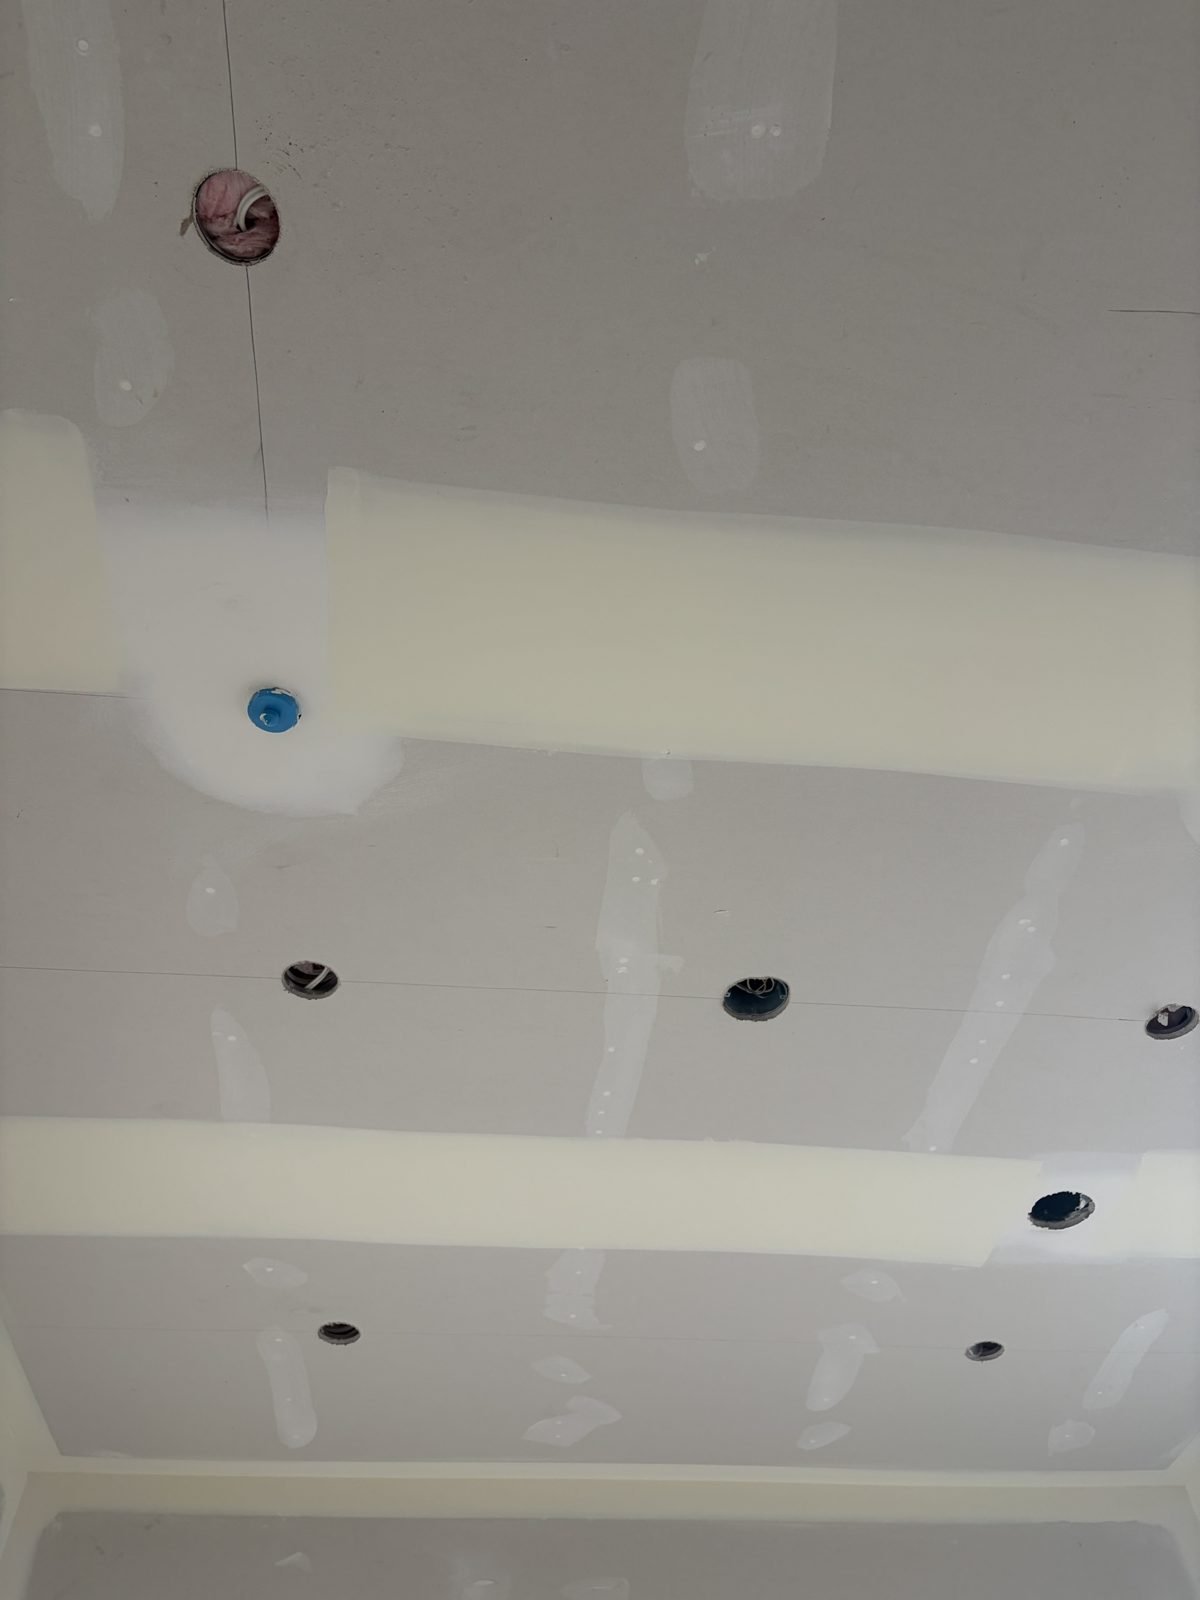
Sheets go on the ceilings first, then the walls. Screws are set just below the surface without tearing the paper. Openings are cut out for every electrical box, pot light and vent. In these homes, the floors between levels also get resilient channels and double drywall for sound control, so you don’t hear footsteps from the floor above.
2. Taping and mudding
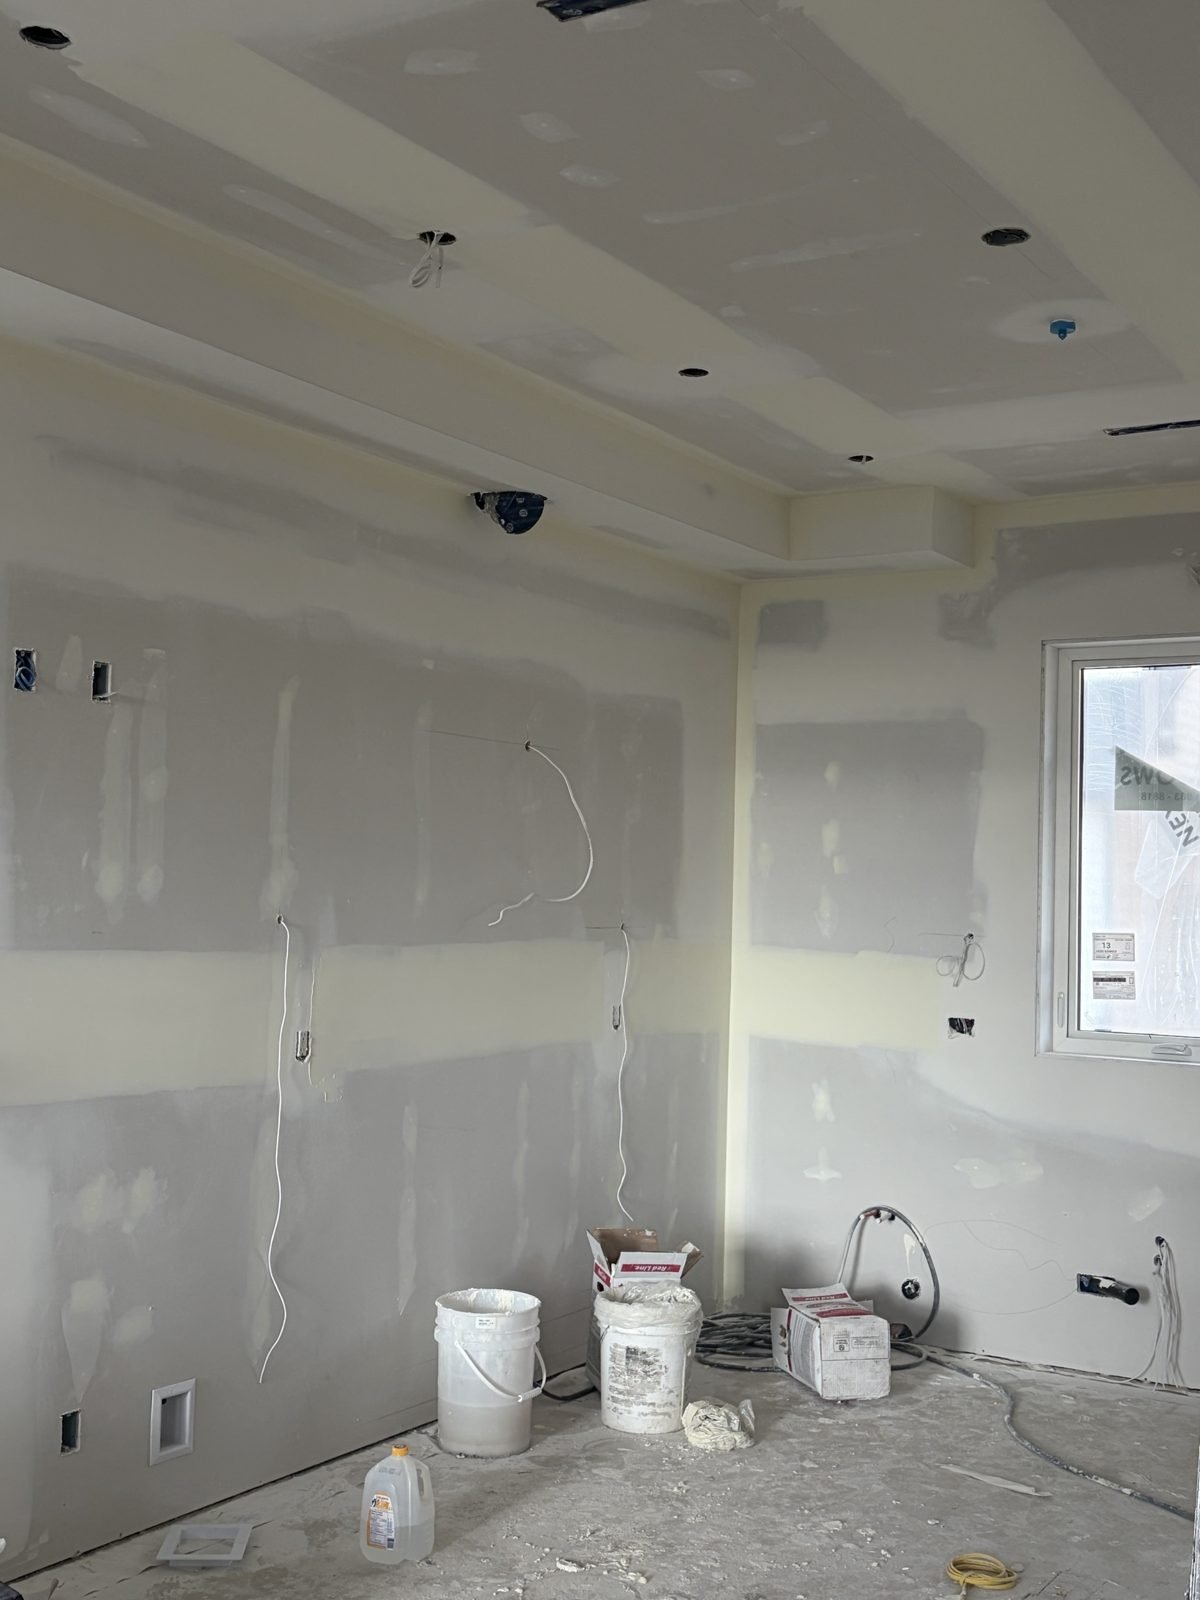
Every joint and screw head is taped and covered with joint compound (mud) in several coats:
- Tape coat: paper tape bedded into the joints, with corner bead on outside corners.
- Fill coat: a wider coat to build up the joint.
- Finish coat: a thin, wide final coat, feathered out so the joint disappears.
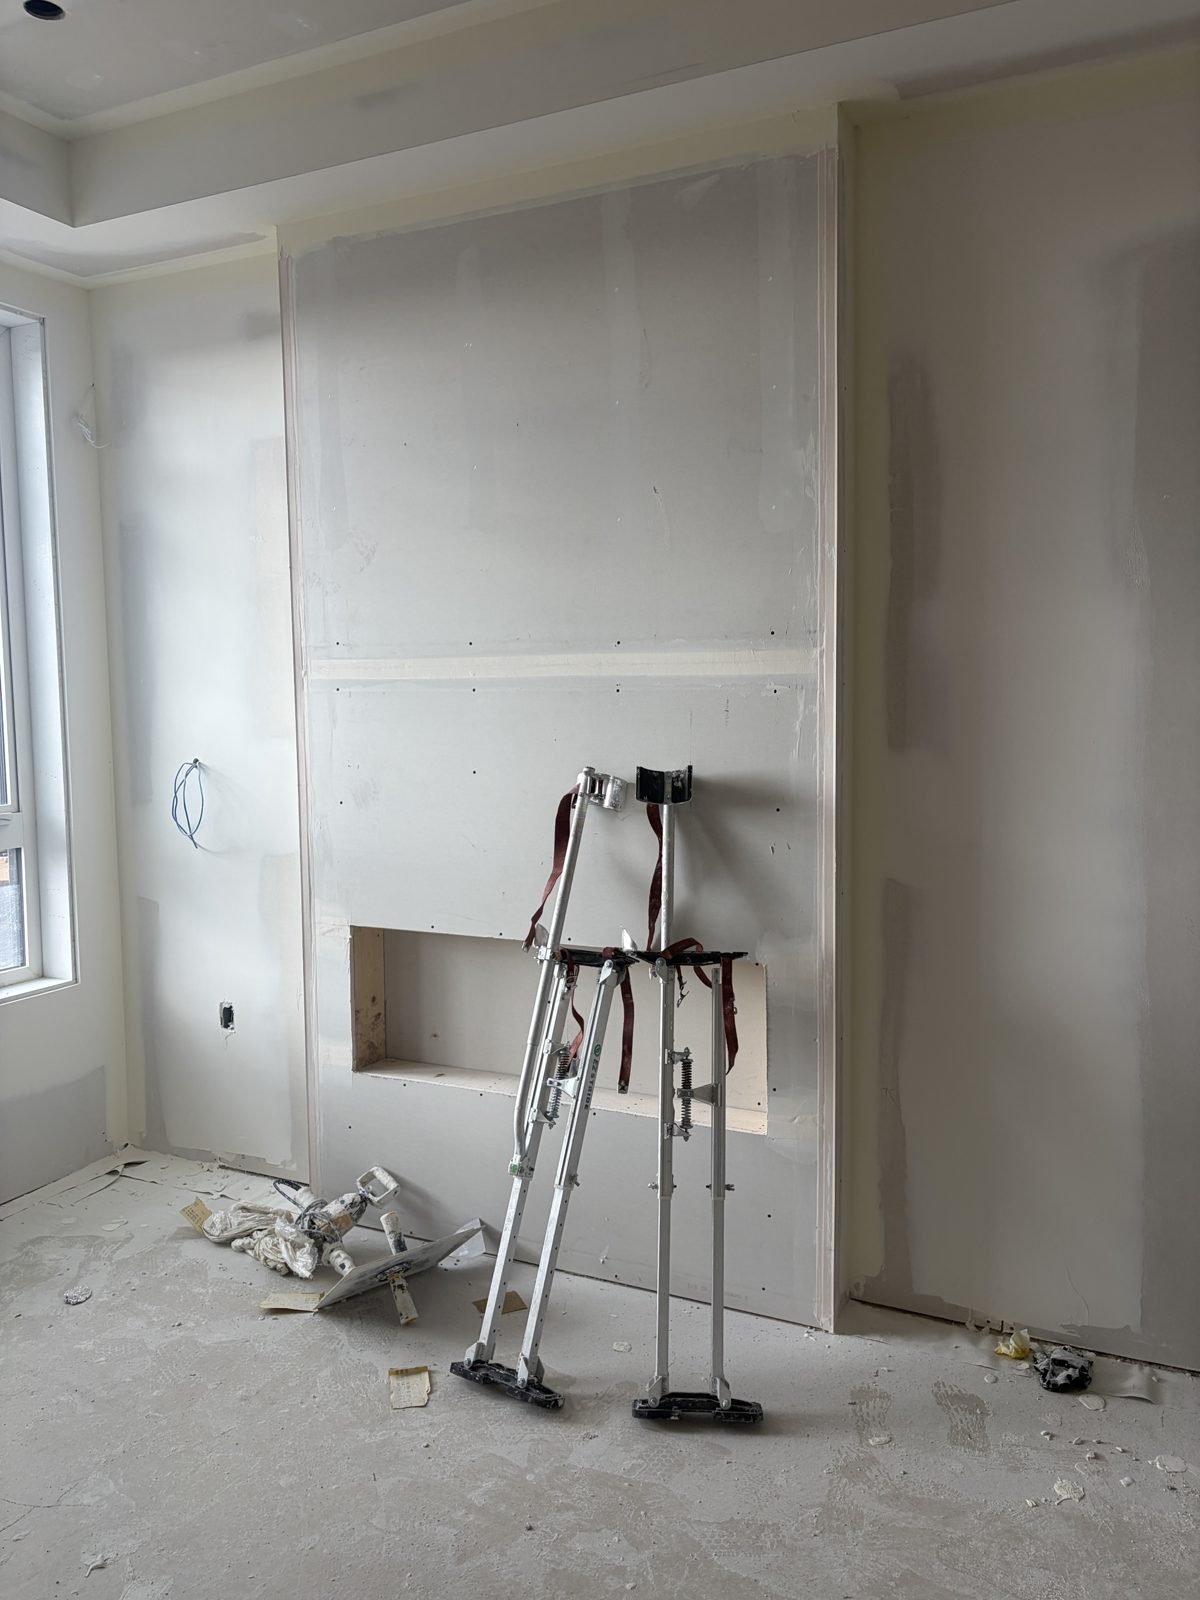
Each coat has to dry before the next one, and the whole job is sanded smooth before priming. You’ll see stilts and mud pans on site at this stage. That’s how finishers reach the ceilings quickly and evenly.
3. Window returns
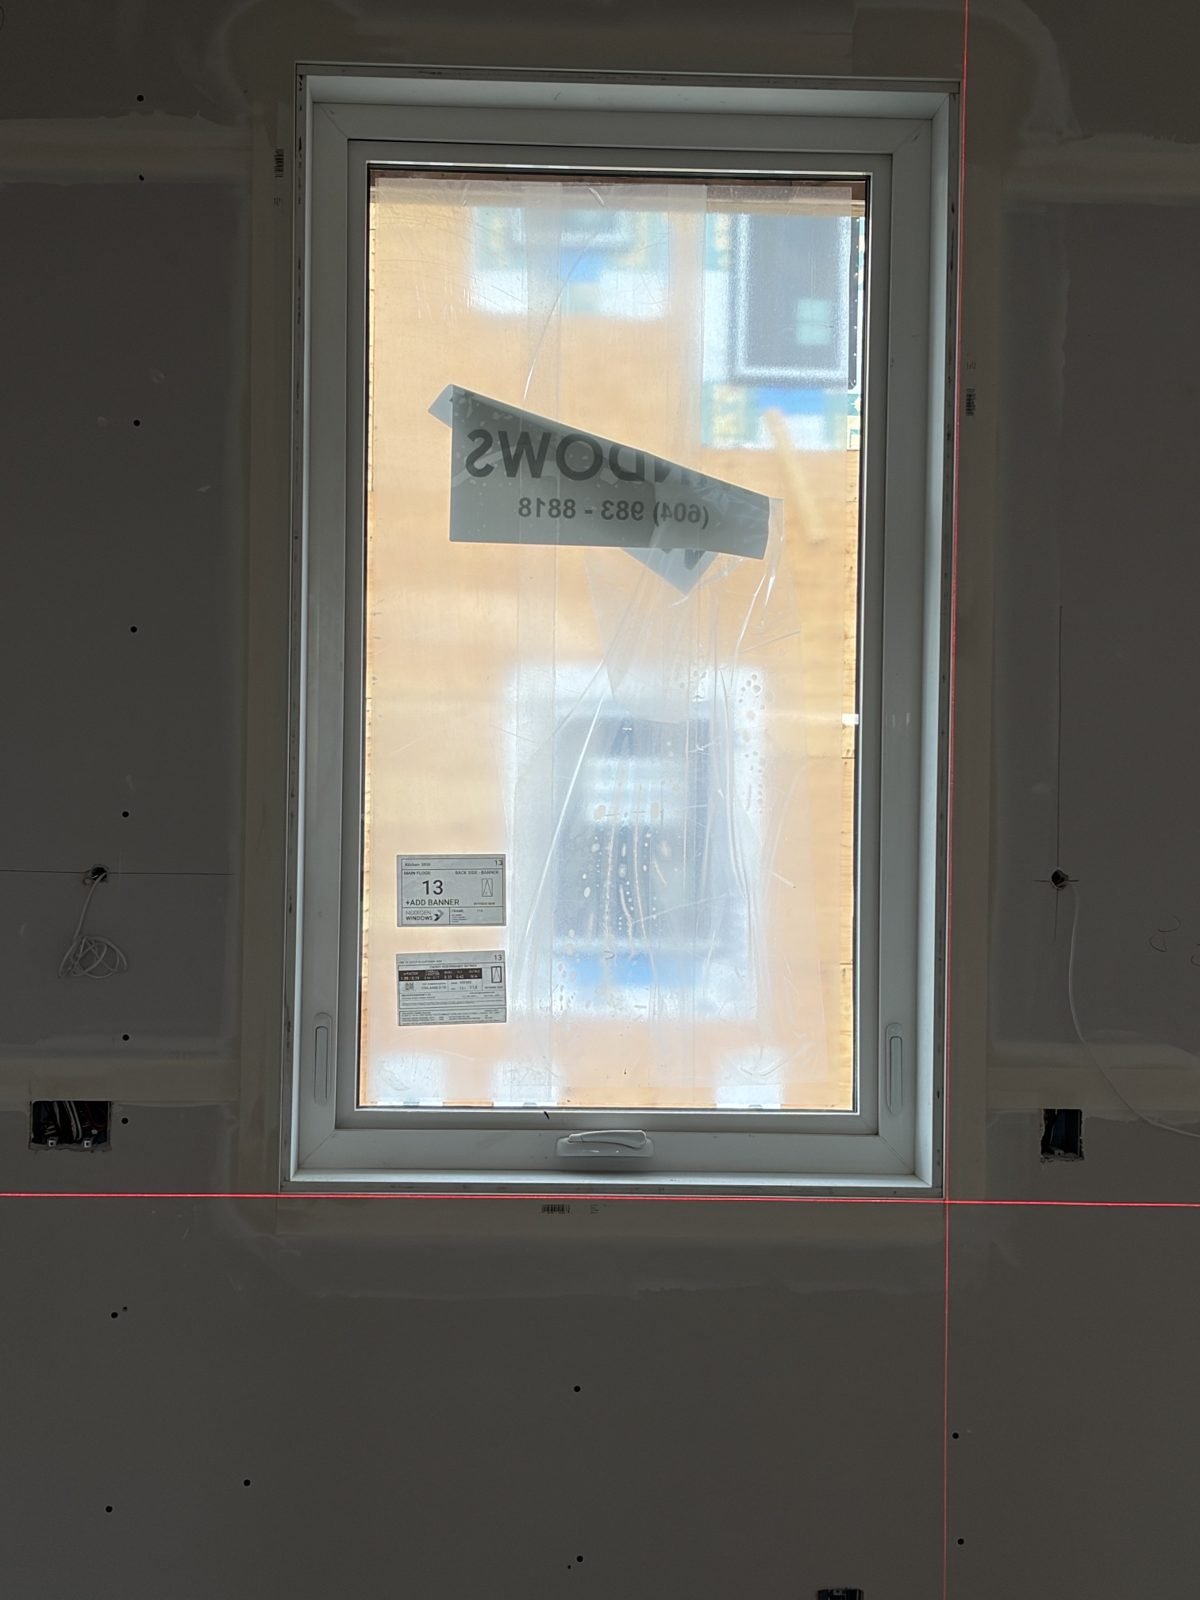
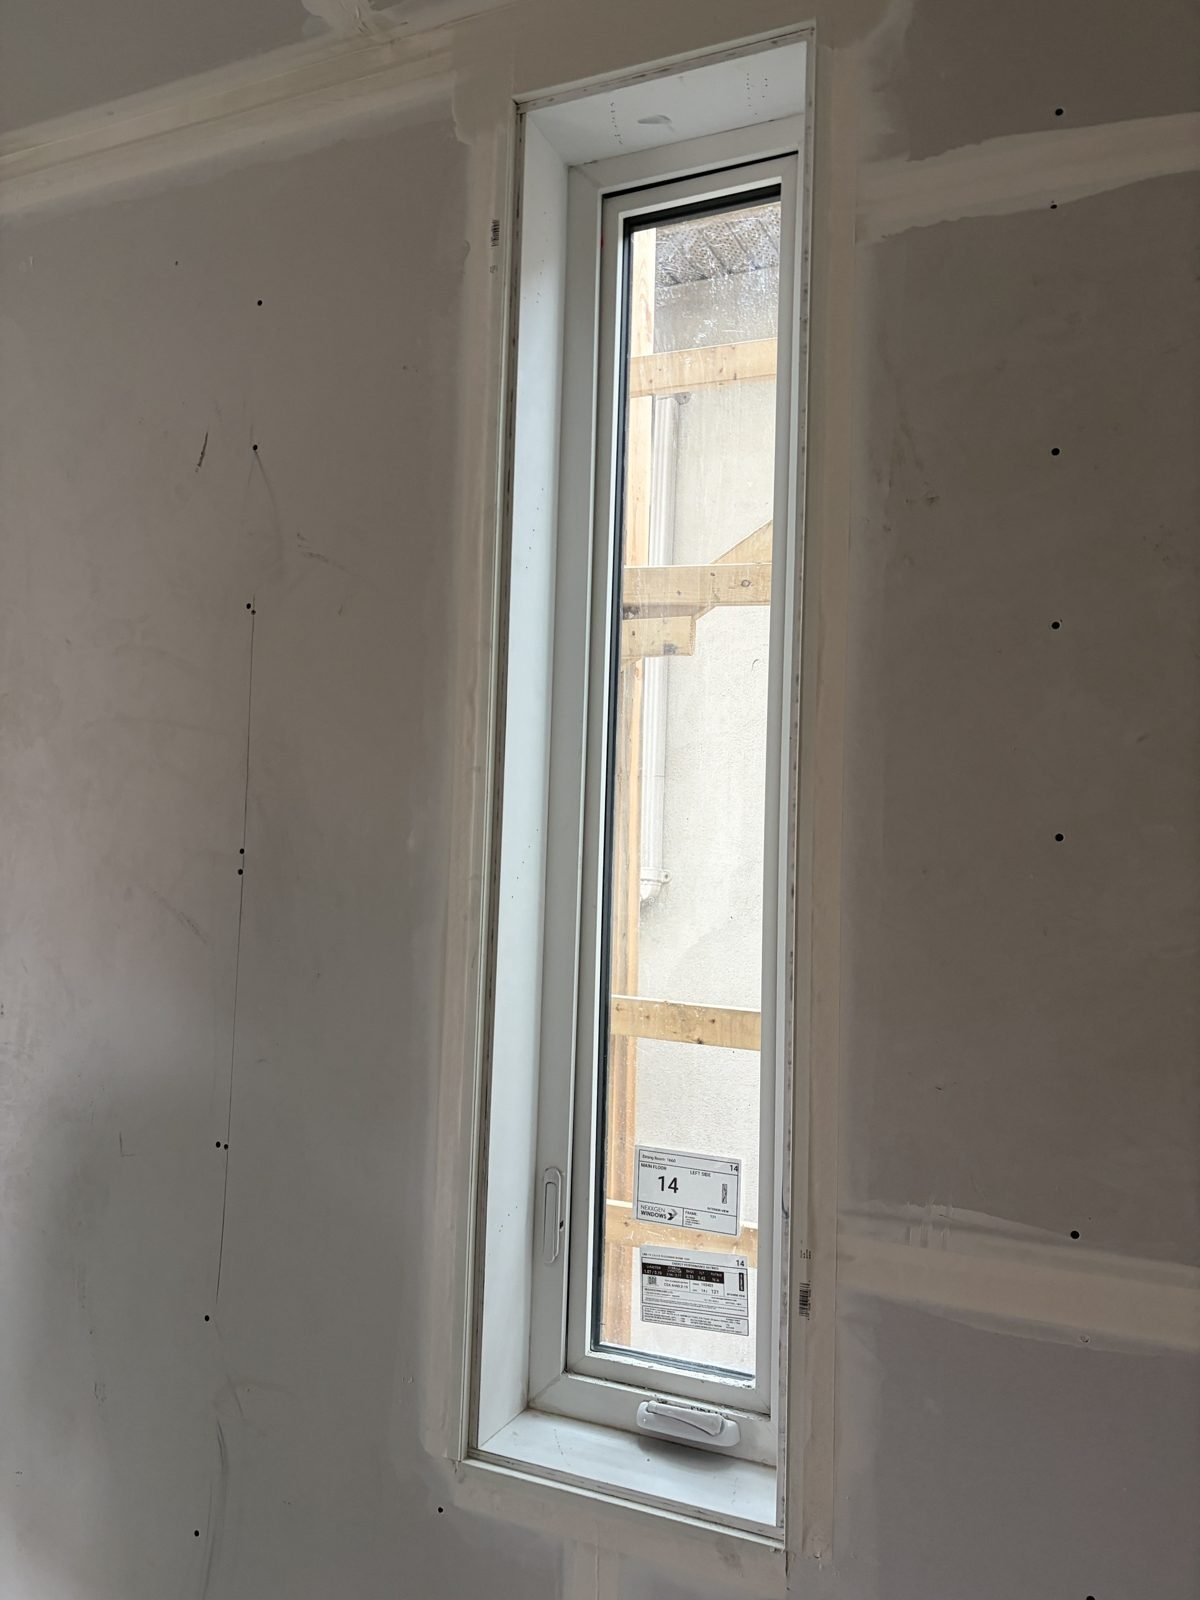
Instead of wood trim around every window, these homes have drywall returns: the drywall wraps into the window opening right up to the frame. It gives a clean, modern look. Getting it right takes care, with straight corner beads, square edges and a neat finish where the drywall meets the window frame.
4. Ceiling details and feature walls
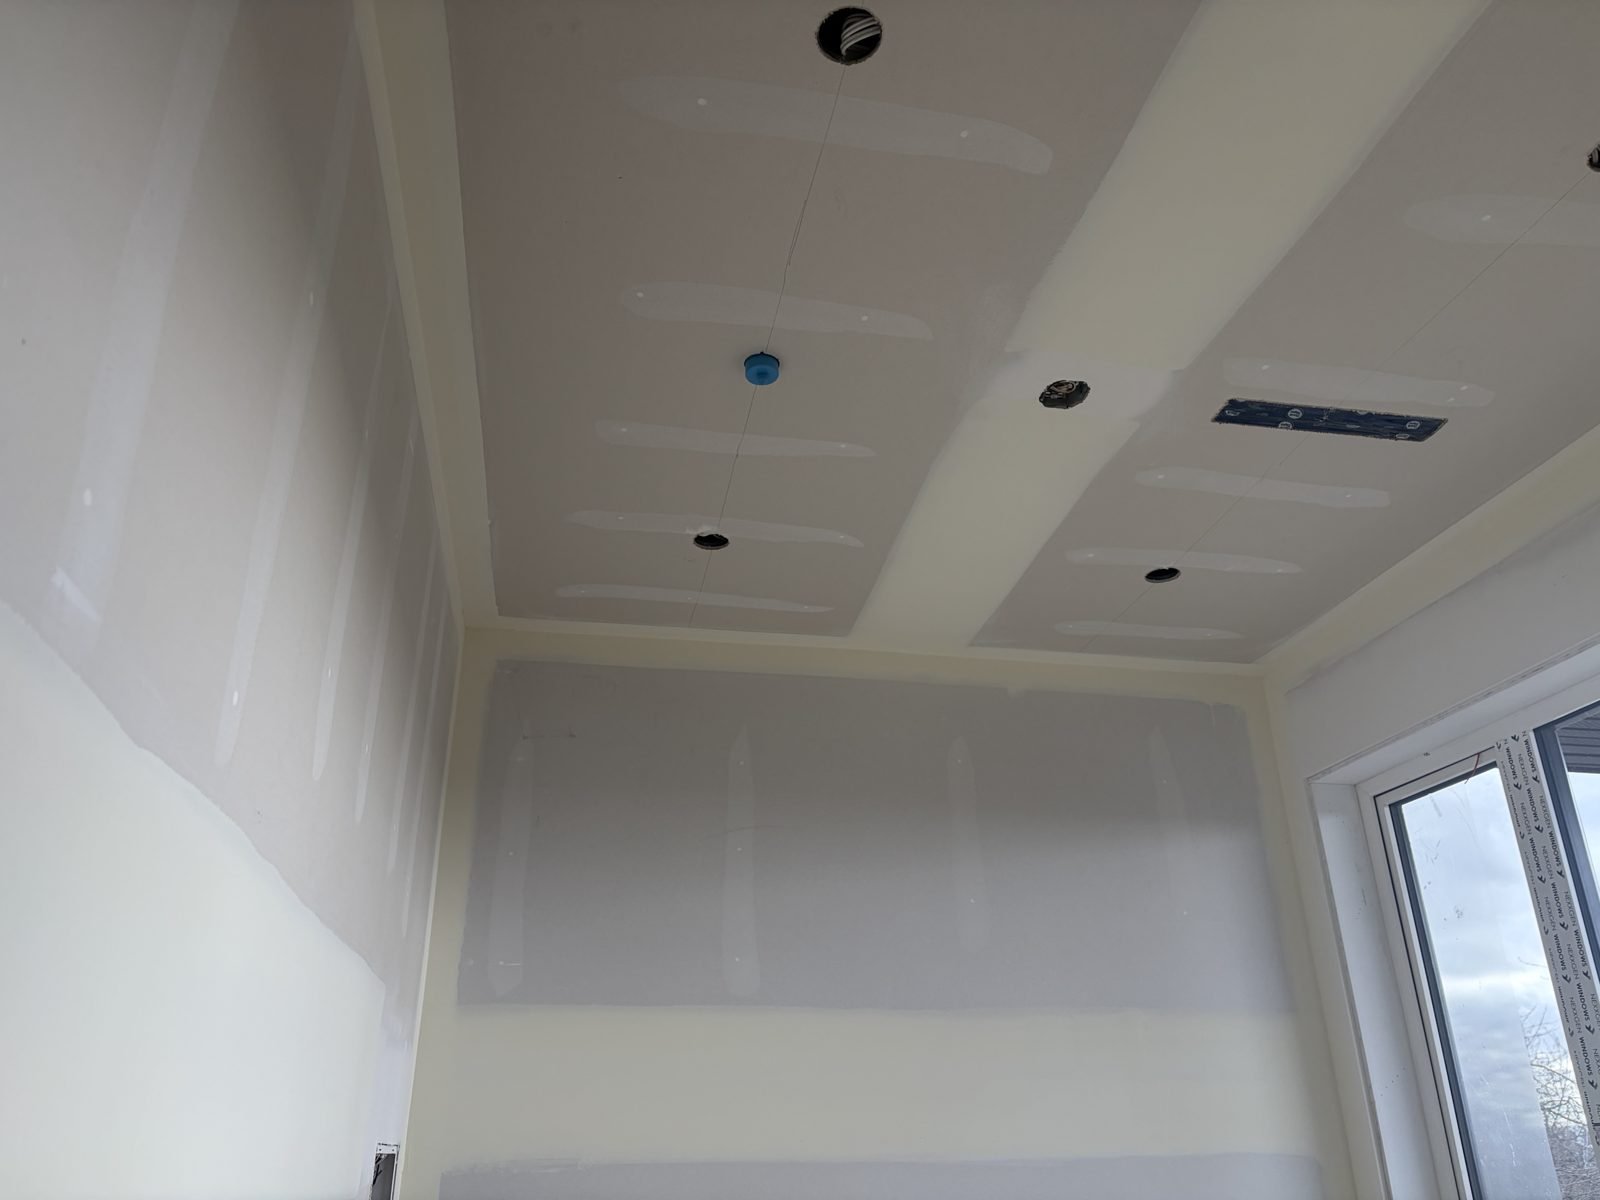
This is when the design details appear: dropped ceilings and bulkheads that hide ducts and outline the kitchen, a feature wall with a recessed niche in the living room, and pot lights laid out in straight lines. Our crew uses a laser to keep lines level and openings centred.
What homeowners should look for
- Joints you can’t see once the room is primed, especially in raking light from windows.
- Straight, crisp corners on bulkheads and window returns.
- No popped screws or cracked tape.
- Pot lights and switches where you expected them. This is the last easy chance to move something.
What’s next
After sanding comes primer and paint, then cabinets, flooring and finishing carpentry. For the full sequence, see our step-by-step guide to building a house in Vancouver.
Thinking about building?
Xerox Builders builds custom homes, laneway homes, duplexes and multiplexes in Vancouver, Burnaby, Surrey and Delta. Call or WhatsApp 604-786-7000 or 604-724-6000, or email info@xeroxbuilders.ca.
Related Posts




Recent Works